Hair
The hair workflow
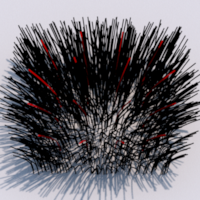
The Guerilla hair workflow is a solution to render a high (millions+) number of hairs. The Hair procedural duplicates hairs at render time, keeping the complexity at the end of the rendering process. The simulation and the export processes stay light.
The Hair procedural workflow is similar to the
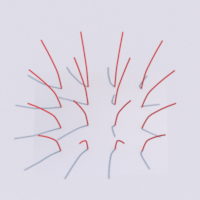
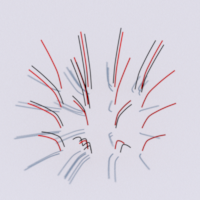
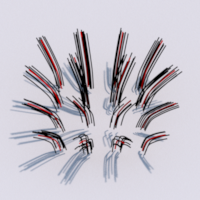
In the hair workflow, the scalp and the guide curves are mandatory. The final fiber curves are interpolated from the input guide curves.

Create the Hair node
The Hair node is a procedural geometry node. It acts like a regular mesh node (shaders, sets can be assigned to it using the RenderGraph) but it generates its geometry. It has to be linked to other mesh nodes, like the scalp meshes and the guide curves.
- Create a
Procedurals/Hair node.
The hair interpolation
First Tweaks
- Select the Hair procedural and tweak the
Hair > Procedural > Density > Density attribute until some hairs are generated. - Fine tune the
Hair > Procedural > Guides > Selection Radius attribute to get a nice coverage of the fibers.
Now you probably want to add a cut map to get a clean hair implantation border. To do that, add a Density sub shader texture on the scalp mesh as explained in the